

admin
If you are planning a new fence, the question that matters most after budget is timing: how long does a typical fence installation take from first day on site to the final clean-up? For straight residential runs of about 20 to 40 metres, the average fence installation usually takes one to three days once materials are on site. The exact installation timeline depends on your fence type, fence length, ground conditions, access, weather and any additional features like custom gates. Below, we break down the installation process so you know what to expect, how to keep things moving, and which factors extend the schedule.
Do I Need Permits Or HOA Approvals Before Hiring A Contractor?
Before a post hole is dug, make sure you are allowed to build what you want, where you want it. Many rear and side privacy fences at 1.8 m proceed as exempt works, but front fences, extra height and pool barriers often require permits or approvals. Estates and HOAs may also set rules for colours and materials on street fronts. Confirming these points up front protects your installation timeframe by avoiding last-minute changes to panels, posts or heights.
If you want a scoped starting point to discuss with your fencing contractor or council, run your lengths, fence height and gate count through the Fencing Quote Calculator. A clear scope speeds approvals and keeps the installation team focused.
What Are Red Flags When Researching Fence Companies?
Timely projects start with professional documentation. Be cautious of quotes that do not specify post size, footing depth, steel gauge or timber grading. Lack of licence or insurance evidence, no photos of recent comparable projects, pressure to sign before a site measure, or “cash only” requirements are all warning signs. If your existing fence needs partial removal or repairs first, ask how the contractor will handle debris and site preparation. If you do uncover issues after the first day, a reputable company can pivot to Fencing Repairs without derailing the whole week.
What Questions Should I Ask During The First Call?
Good questions compress the installation time by eliminating guesswork:
- Who measures and supervises? Clarify whether the crew is in-house or subcontracted and who will be on site to make decisions.
- What is included and excluded? Confirm removals, dump fees, rock excavation, posts, rails, fence panels, caps, custom gates and finishing touches.
- How are variations priced? Agree on a rate for unexpected rock, deeper footings or extra posts so changes do not stall work.
- What are the warranties and dates? Separate material and workmanship warranties and ask for realistic start and finish dates.
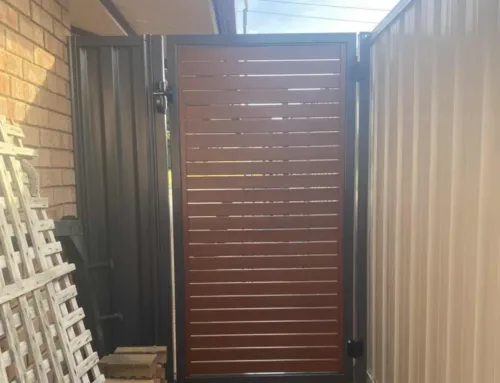
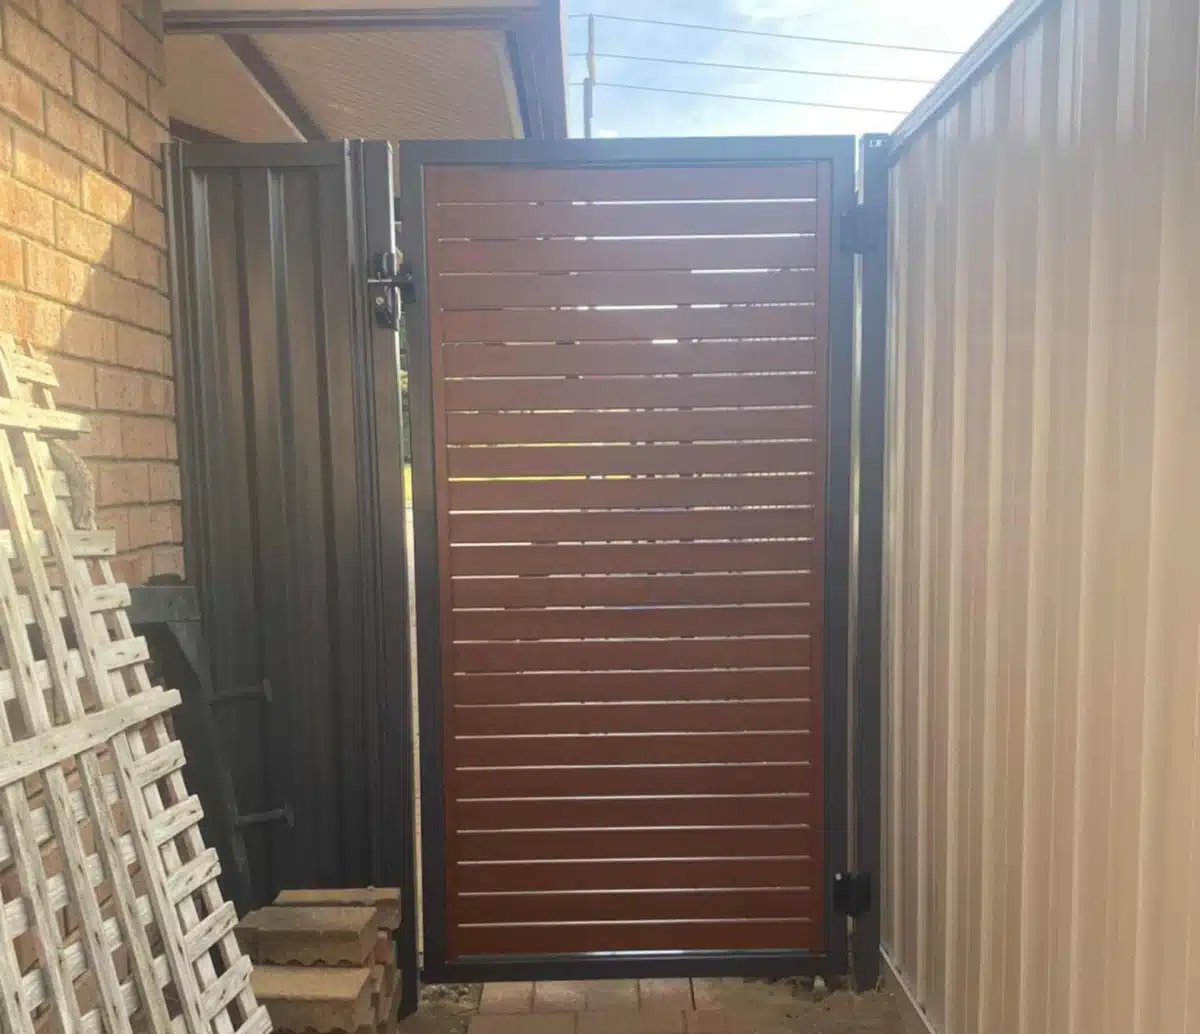
If you are pairing a new fence with driveway or side-entry gates, review hardware options and latch heights now so frames are ordered correctly. For inspiration, see Residential Gates With Your New Fence.
How Important Are Reviews Versus Photos Of Past Work?
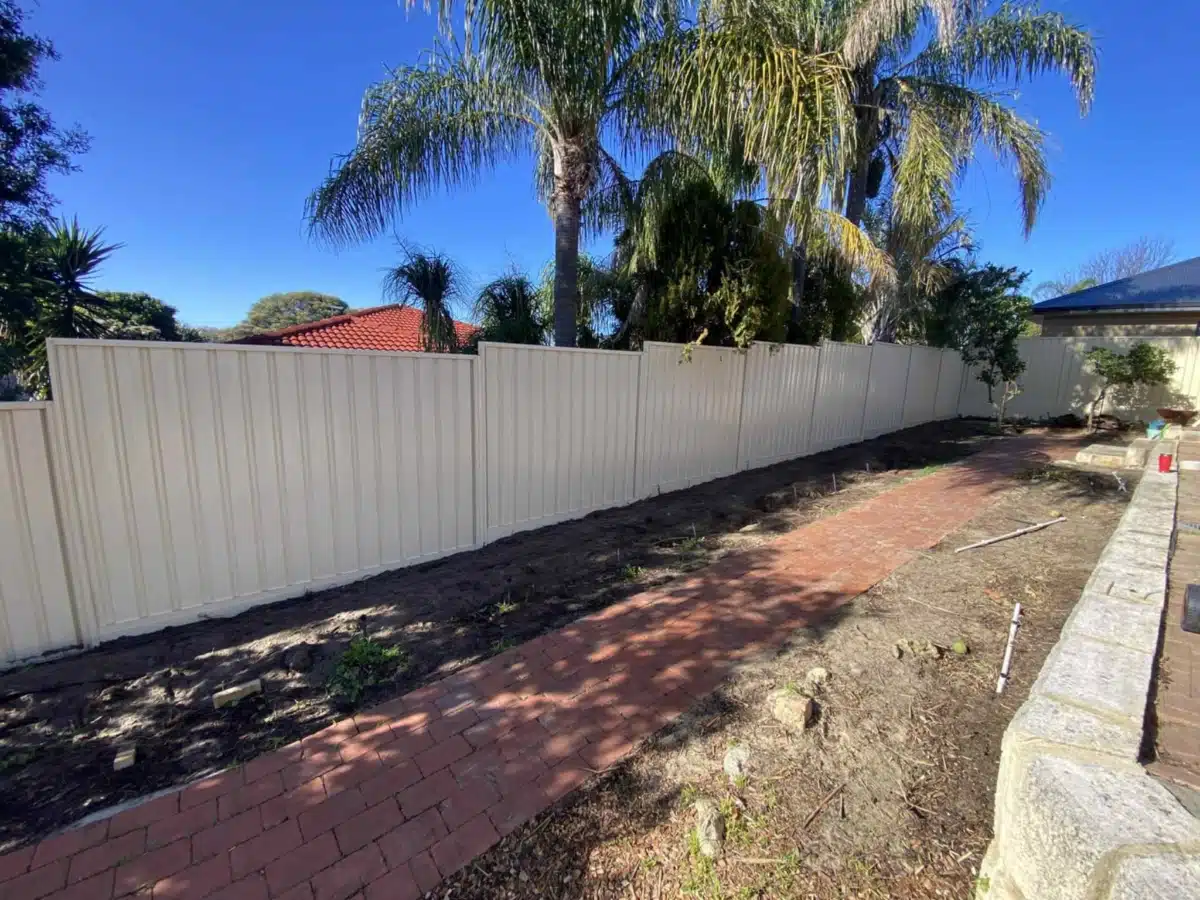
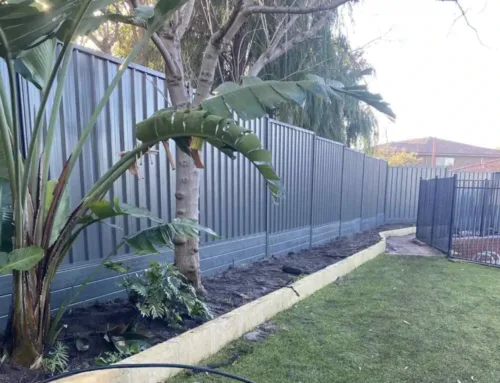
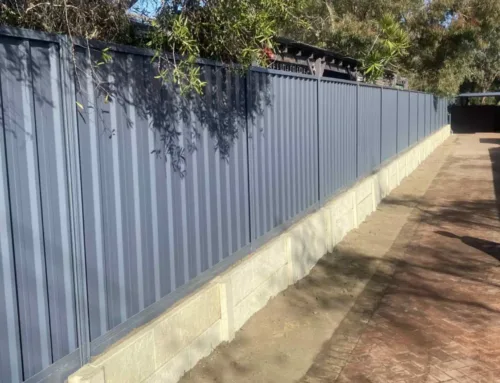
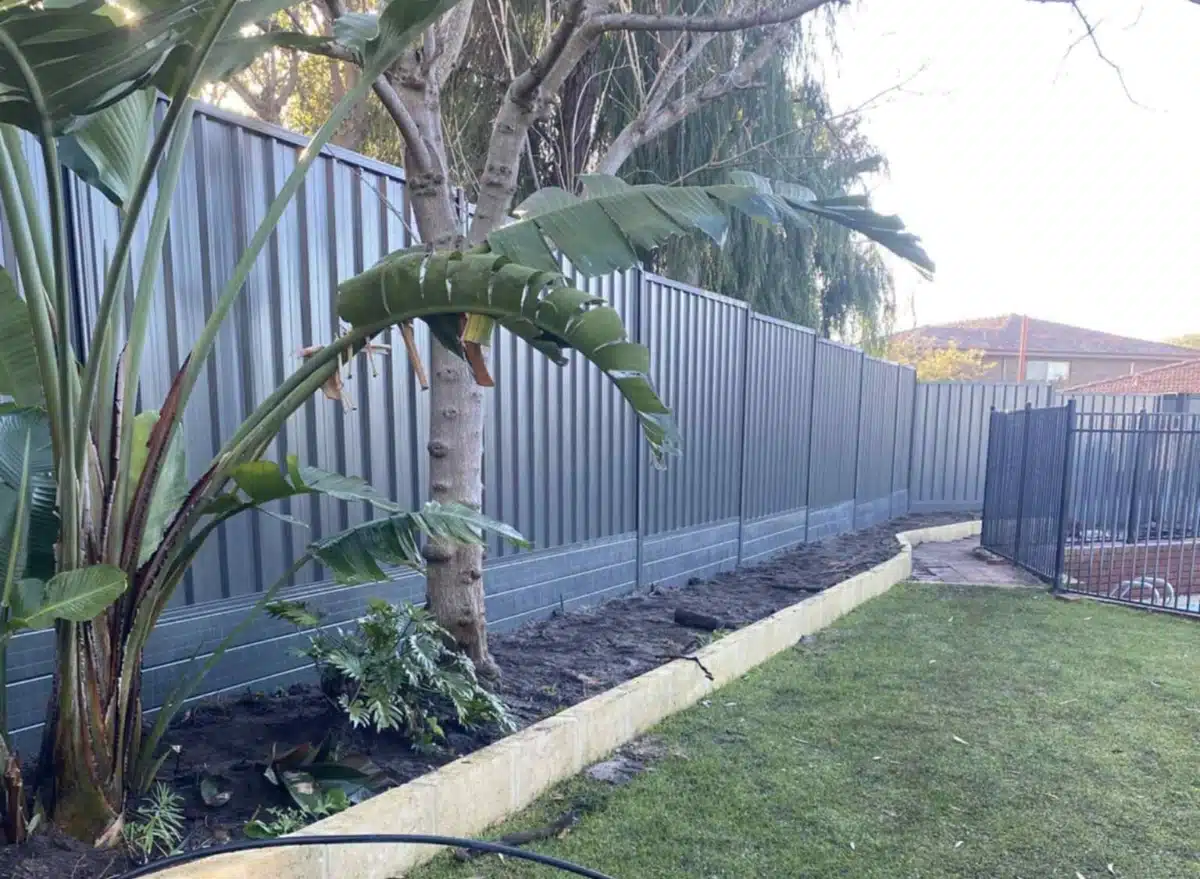
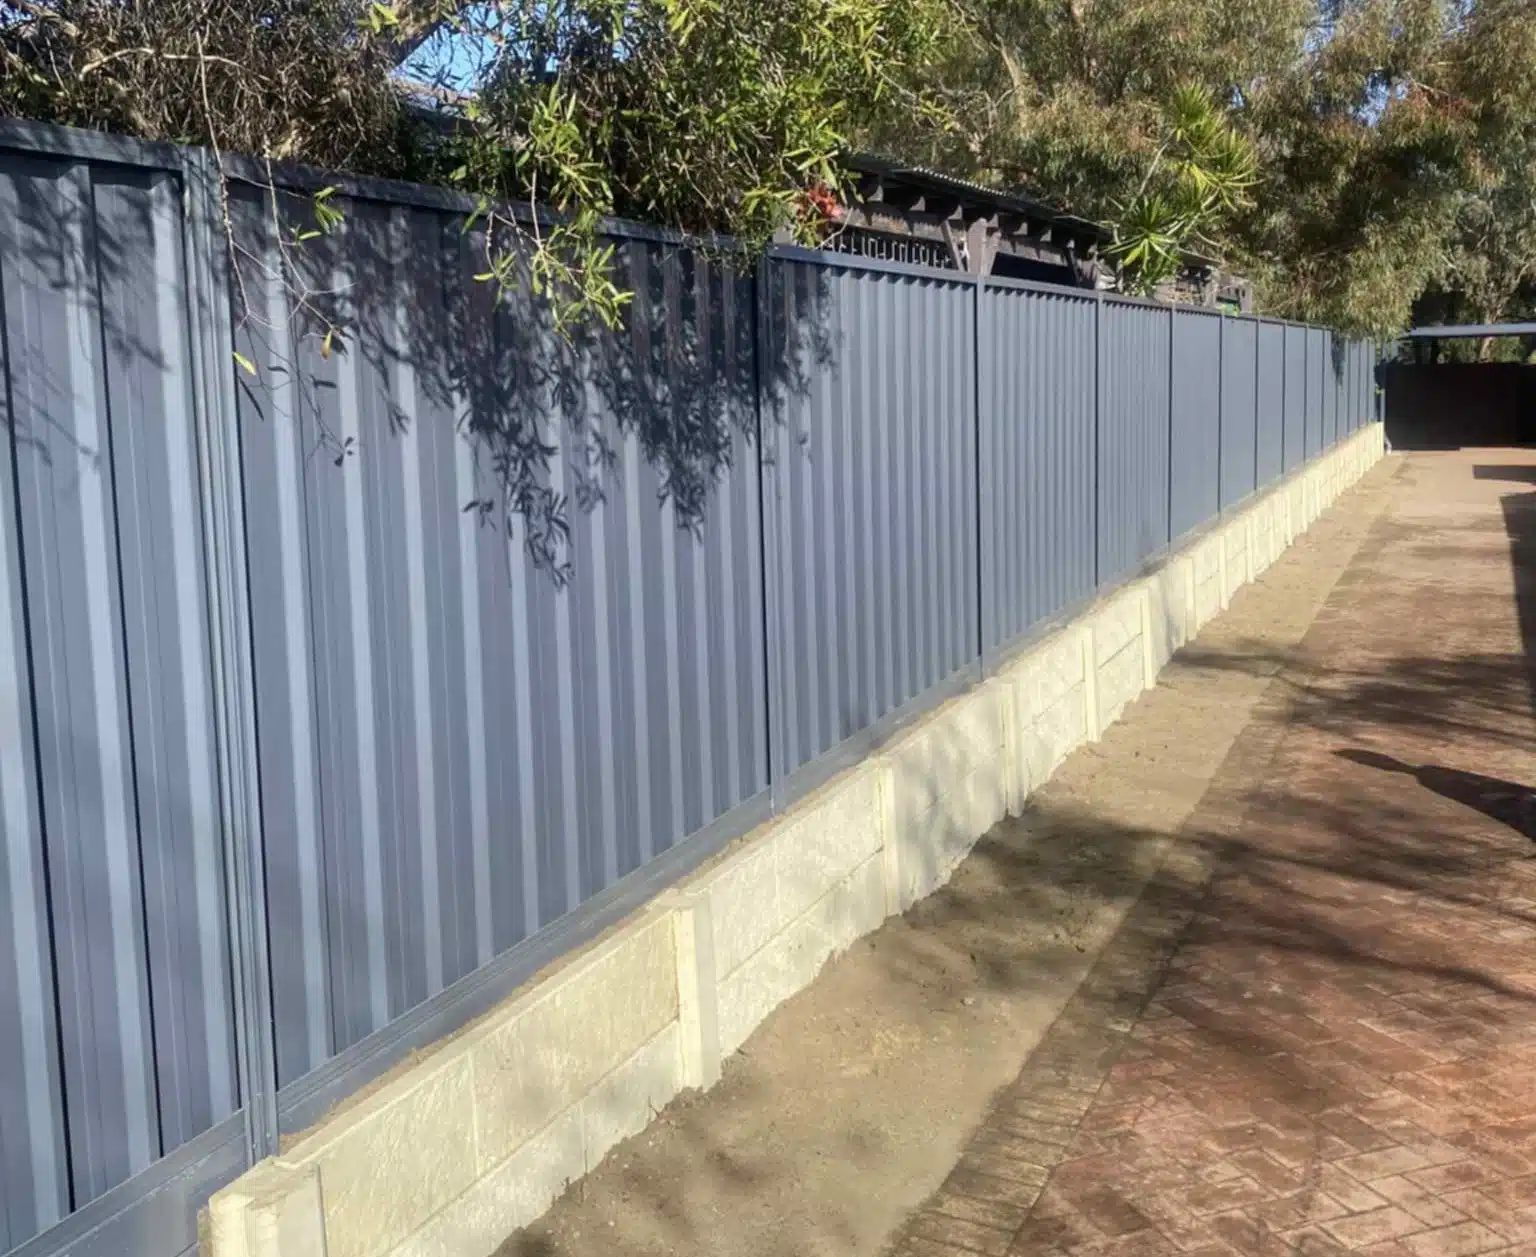
Reviews speak to reliability, punctuality and customer satisfaction. Photos show the finish: straight lines, even tops on stepped yards, tidy concrete at posts and accurate gate swings. Prioritise recent jobs that match your ground conditions and fence type, whether that is a wood fence, aluminium fence, vinyl fences or Colorbond privacy panels. Use both reviews and photos when shortlisting; then browse the Gallery to confirm the look you want.
What Does A Typical Two Or Three Day Installation Process Look Like?
Day 1: Set-out and posts
The installation team walks the fence line with you to confirm heights, corners, gate openings and the location of any obstacles. Underground lines are marked from prior utility locates. A string line is set for straightness; centres are marked; the crew begins digging post holes using an auger or hand tools. Hole depth varies with fence height and soil conditions. Concrete is mixed and poured, posts are set plumb, and braces keep them true while curing. If soil is soft or the wind region is high, the contractor may specify larger posts or deeper footings, which can take slightly longer.
Day 2: Rails, panels and gates
Once concrete has gained initial strength, rails or fence panels are installed. For timber palings, rails go on first, then palings are fixed. For Colorbond or aluminium systems, pre-finished panels and caps go up quickly. Custom gates are hung, hinges adjusted, and latches positioned. On a straightforward 20–40 m project, many fences are completed by the end of day two.
Day 3: Finishing touches and clean-up
If the run is longer, the site has uneven terrain, or there are returns at side gates, a third day may be used for caps, trims, touch-ups, raking panels to match grade, and removing debris. The crew confirms final levels, checks swings on gates, and leaves the property clean.
What Can Extend The Installation Timeframe?
- Ground conditions: Rock, dense clay, or water in holes slows digging and may require different footing designs.
- Slope and steps: Steep yards need stepped or raked panels, extra posts and careful set-out to keep tops straight and under-gaps consistent.
- Removals and access: Taking out an old fence, carting spoil through tight side paths, or barrowing concrete around the house adds time.
- Additional features: Extra gates, privacy screens inside corners, non-standard post caps and custom colours extend lead times and on-site work.
- Weather conditions: Heavy rain and unpredictable weather delay concrete curing and can halt digging, especially on reactive soils. In peak seasons, crews also juggle other projects, so a wet week can shift your slot.
How Do I Keep The Schedule Tight?
A little careful planning before day one keeps the project moving:
- Confirm approvals and colours early: Making decisions before materials are ordered avoids last-minute changes.
- Clear the fence line: Move plants, pots and furniture; provide access for wheelbarrows and mixers so the crew can start digging post holes immediately.
- Mark services and boundaries: Provide any survey pegs or plans and ensure utility locates are complete.
- Secure pets and arrange parking: The installation team works faster when the site is safe and access is straightforward.
- Weather buffer: Leave room in your schedule for extreme weather conditions so you do not feel pressured to pour concrete in the rain.
How Long Does It Take For Different Fence Types?
While the core process is similar, different fence types have slightly different rhythms:
- Colorbond and aluminium: Prefinished systems are efficient once posts are set, so panels and caps go up quickly. Expect the lower end of the one to three day window for straight lines.
- Wooden fences (timber palings): Rails and palings require more fixing time, especially on long runs. Add time if you plan to apply a protective sealant after installation.
- Vinyl fences (PVC): Similar to aluminium for assembly speed, though larger gates and special trims can add steps.
- Aluminum fence for pools: Progress is steady, but compliance details (gaps, latch heights, hinge direction) add checks at the end.
As a rule of thumb, the installation time for a new fence is driven less by the panel type and more by posts, concrete, access and the number of changes along the line.
Will Contractors Handle Utilities And Property Lines?
A reputable fencing contractor will book utility locates before the first hole and ask for any recent survey information to keep posts on your title. This prevents delays and protects the installation team and your property. If pegs are missing or the boundary is disputed, a licensed survey avoids rework and frustration later.
What Impacts Pricing Alongside Time?
The elements that stretch the installation timeline often add cost as well. Major drivers include material choice, total fence length, fence height, number of gates and hardware. Site factors such as slope, rock, removals, tip fees, tight access and deeper footings play a significant role. Extras such as custom colours or rush dates add to both the quote and the risk of delays. If you are early in planning, How Much Does Fencing Cost outlines typical ranges so you can set realistic expectations.
What Happens After The Crew Leaves?
A good contractor leaves the property clean, removes debris if that was included, and ensures posts are plumb, gates close smoothly and caps are secure. For wooden fences, schedule your first regularly inspect walk-around after a week to confirm nothing has moved during the initial cure. After installation, basic care extends longevity: hose down steel panels every few months; keep soil and mulch off timber rails; and apply the protective sealant cycle your contractor recommends. If you have pets, double-check bottom gaps and secure latch heights.
Example Timelines You Can Trust
- Straight 25 m Colorbond privacy fence, one pedestrian gate, level site: two days total.
- 40 m timber paling fence, two gates, slight slope with steps: two to three days.
- 30 m aluminium pool boundary with two returns, compliance check: two days plus a short return visit if inspections are scheduled.
- Replacement of a tired wood fence with removals and tight access: plan for three days, as removals and barrowing concrete are time consuming.
Conclusion
Most suburban projects complete in one to three days once materials are delivered. The fastest installs happen when permits are sorted, colours and heights are confirmed, the fence line is clear, and utilities are marked before digging. The installation sequence is predictable: set out, post holes and concrete, rails or panels, gates, finishing touches. Weather and ground conditions can nudge the schedule, so allow extra time for heavy rain or hard digging and avoid rushing the cure. With proper planning, a clear scope, and a capable contractor, your new fence will be installed efficiently, look sharp from day one, and lift security and kerb appeal for years.
